Krisann took her first ride on Stella and her first time on a motorcycle. She had it figured out and took off in only minutes ripping up the street and around the block.
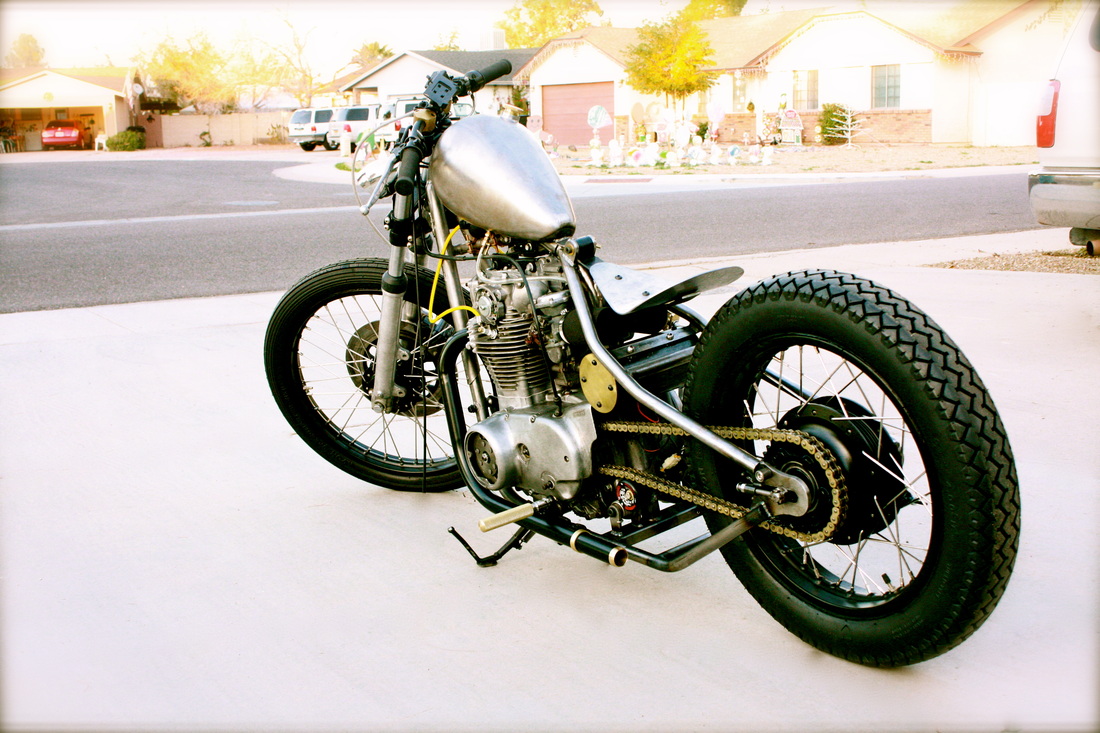
  Here is the latest pictures of Stella. Just got her all ready for emissions last week then Arizona passes a new law that motorcycles no longer need emissions... FINALLY! So waited all this time for nothing. Took her out for a 5 mile ride to check things out. I will continue a few mile road tests for the next few days and weeks and start building up distance. Why you ask? The XS650 is a twin, and since I have dropped a good 100lbs from the bike it is light and vibrates just short of a bull running down the streets of vegas in a parade. Because of the vibrating engine, bolts loosen and parts become roadkill.
I debated for a long time whether to even register it, instead make my own license plate or leave the entire bracket off. Many people don't realize that driving is a regulable activity requiring registration and the driver to have a driver's license. In the United States we have a constitutionally protected right to travel unencumbered. Because this is a basic right there is no permission required, i.e. I do not need a driver's licens or registration, etc. For more information on these FACTS check out my other website www.begNOpardon.com which deals with rights that have been stolen without permission by those we have elected to protect those very rights, or click HERE to go directly to the page on 'driving vs. traveling'. I finally got my wireless RFID Ignition setup bench tested and working, now it is ready to throw into Stella. It took a long time to figure out the wiring with about 60 different configurations with auto relays. Basically it is a RFID wireless system that is wired to a relay that latches open to allow the bike to be started. Once the bike is turned off with the kill switch it must be reengaged with the fob again. The fobs can be like in the video or as a card that goes in your wallet and even implanted into your hand... I'll share how that goes in the coming weeks ;). A nice beautiful winter afternoon Stella sets sails for running around the block. She runs flawless. Wow, so much fun!
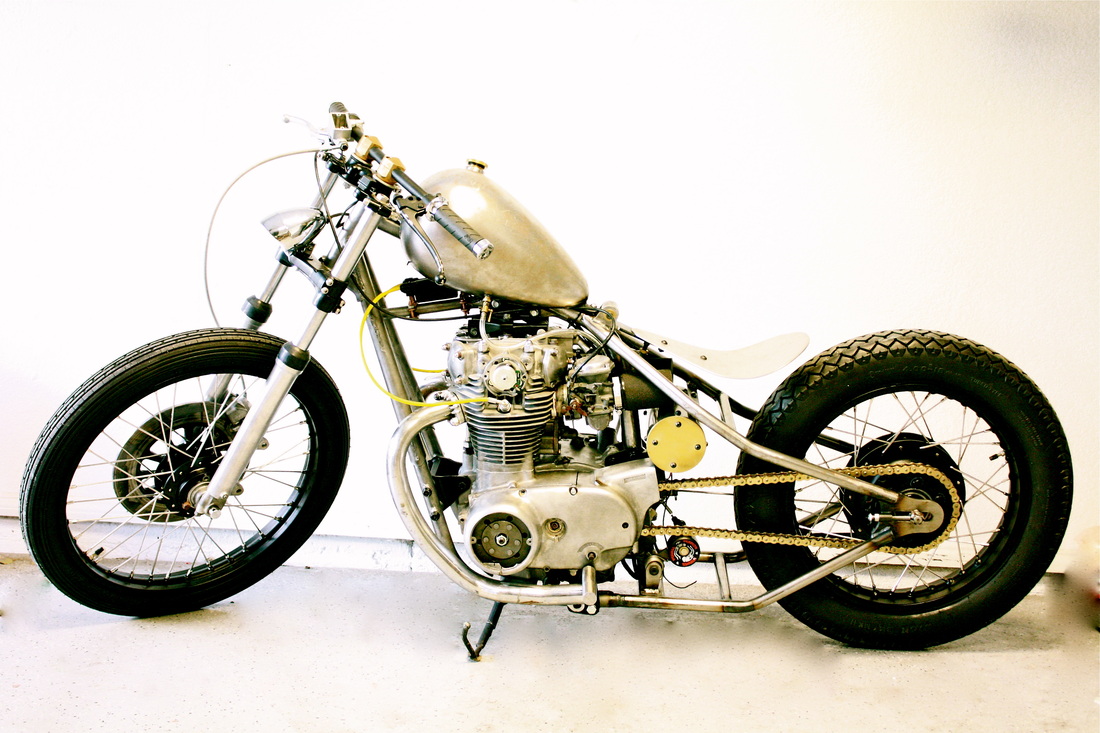
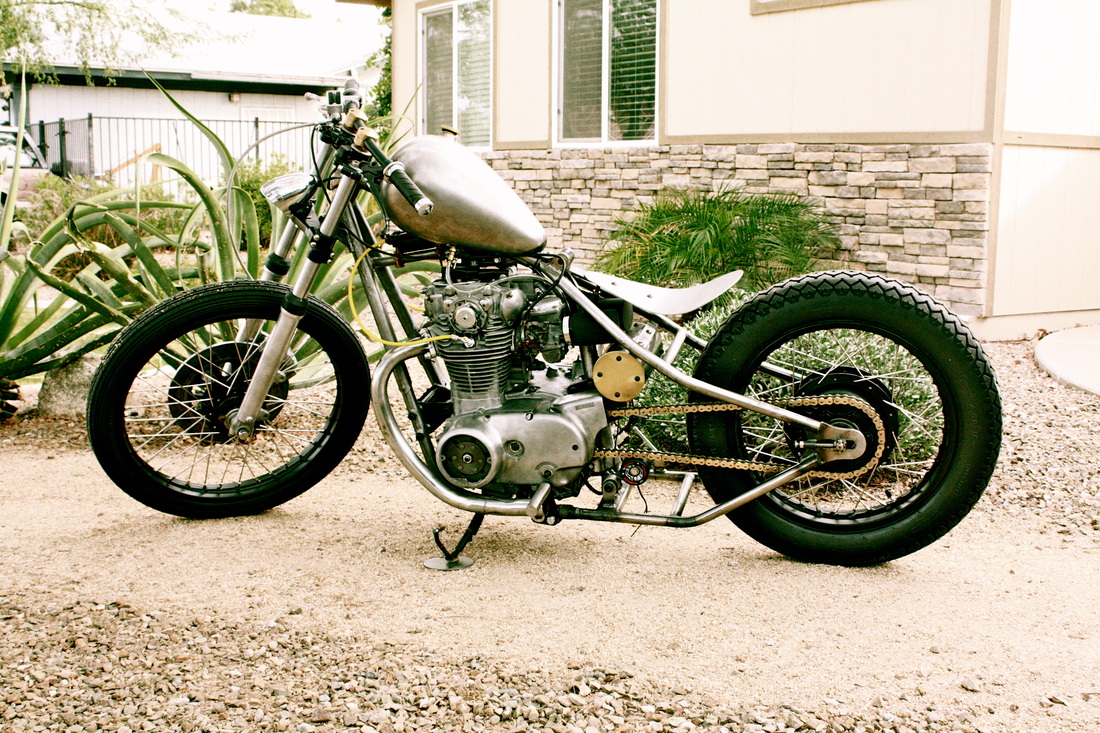
Here is Stella in all her glory, all she is missing is her rear fender, rear break light and license plate. Still not a bad view. So close... 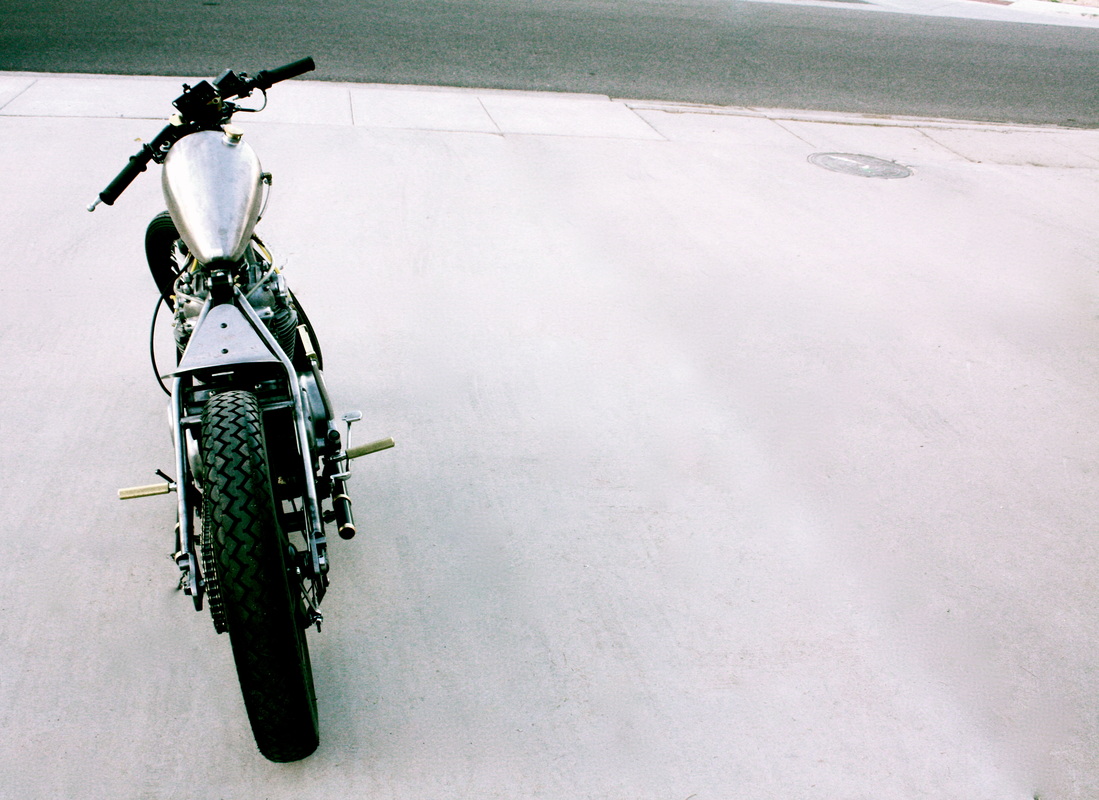
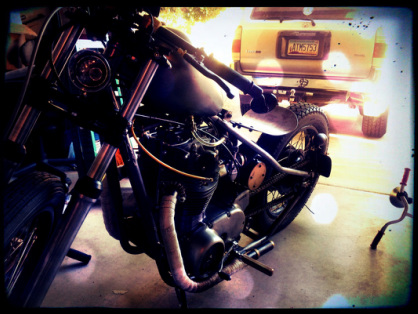
Exhaust is installed and new brass foot pegs are installed. 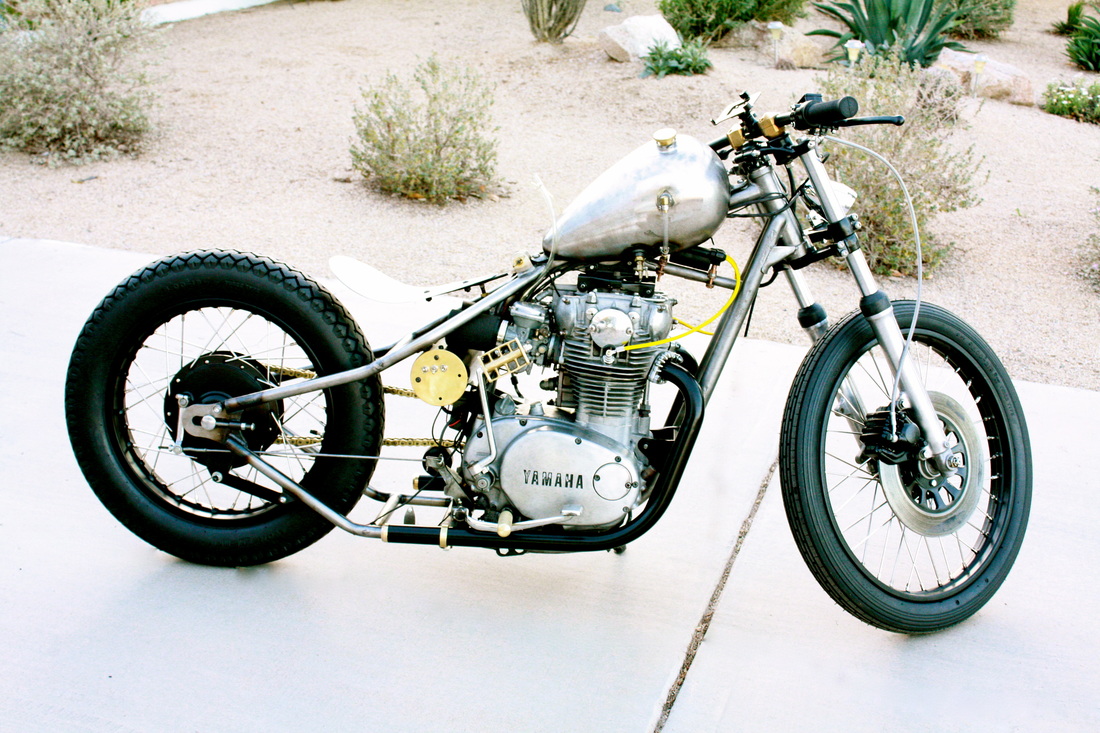

And of course as soon as I pull out the camera Che likes to get in on the action! And our new 4Runner in the background, finally ditched the mini van. 
I decided I did not like the lines of the stock pipes I had. They did not flow and the bends were too wide. I decided to make my own pipes. I must admit that this step was not nearly as difficult as I thought. I got away with one cut and weld seam. I then ground down the seam then cut the pipes to length. 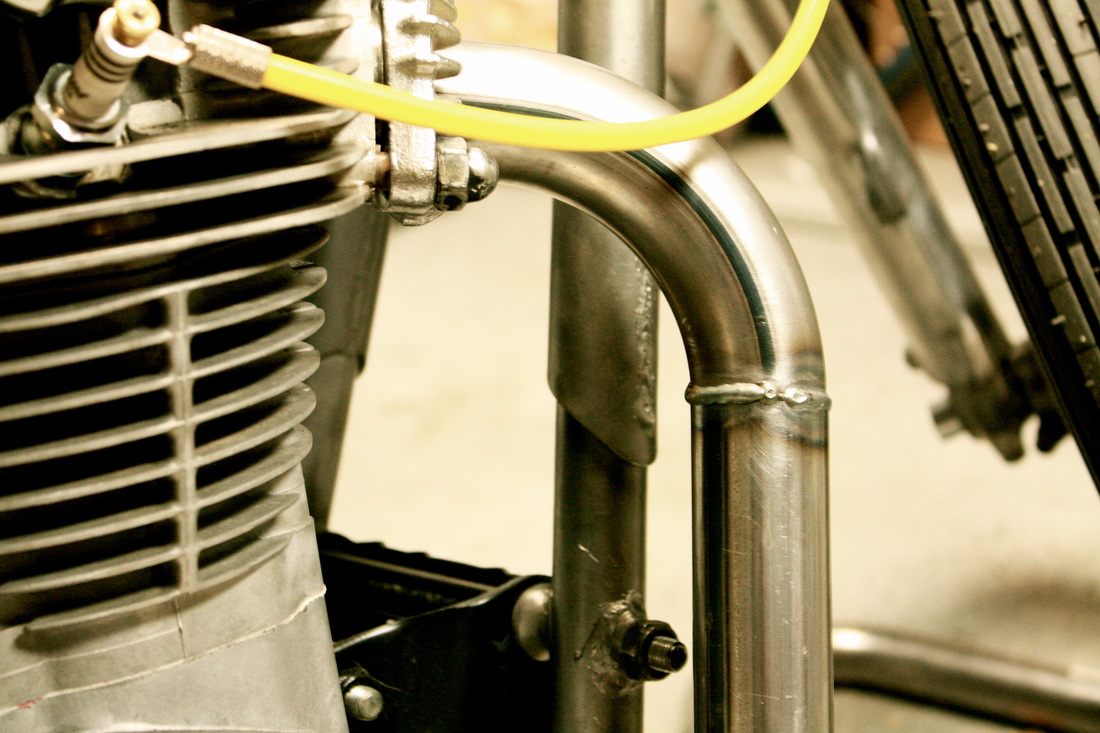 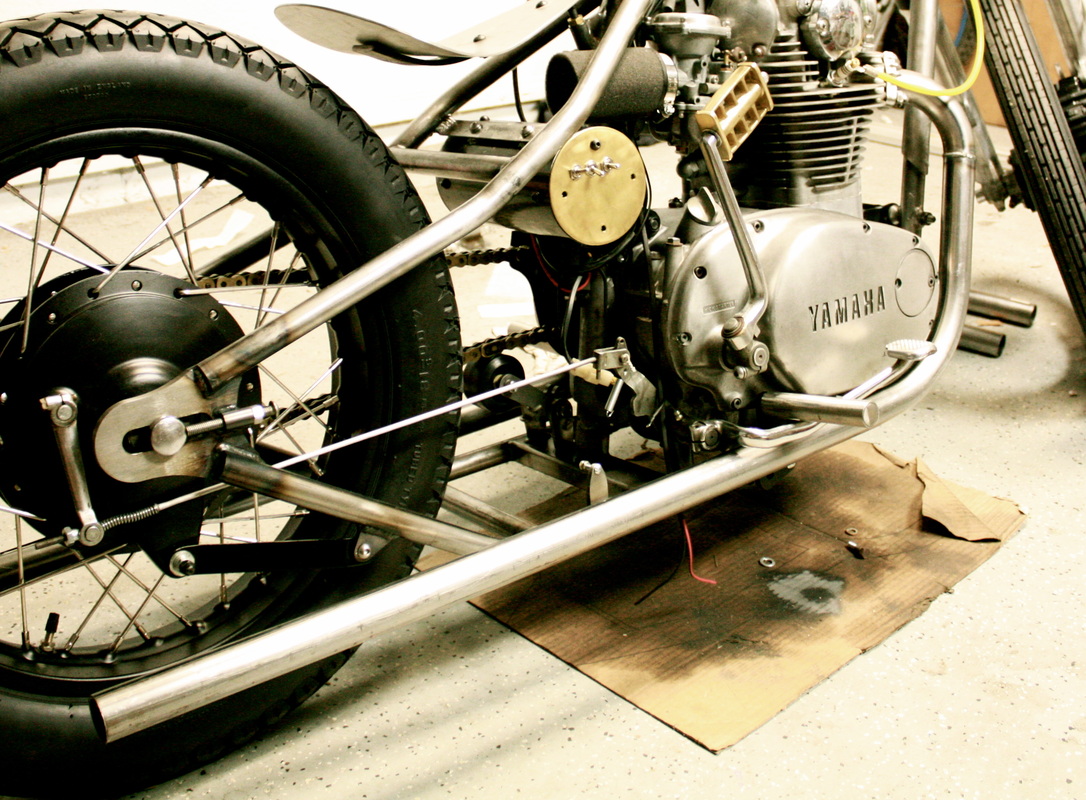 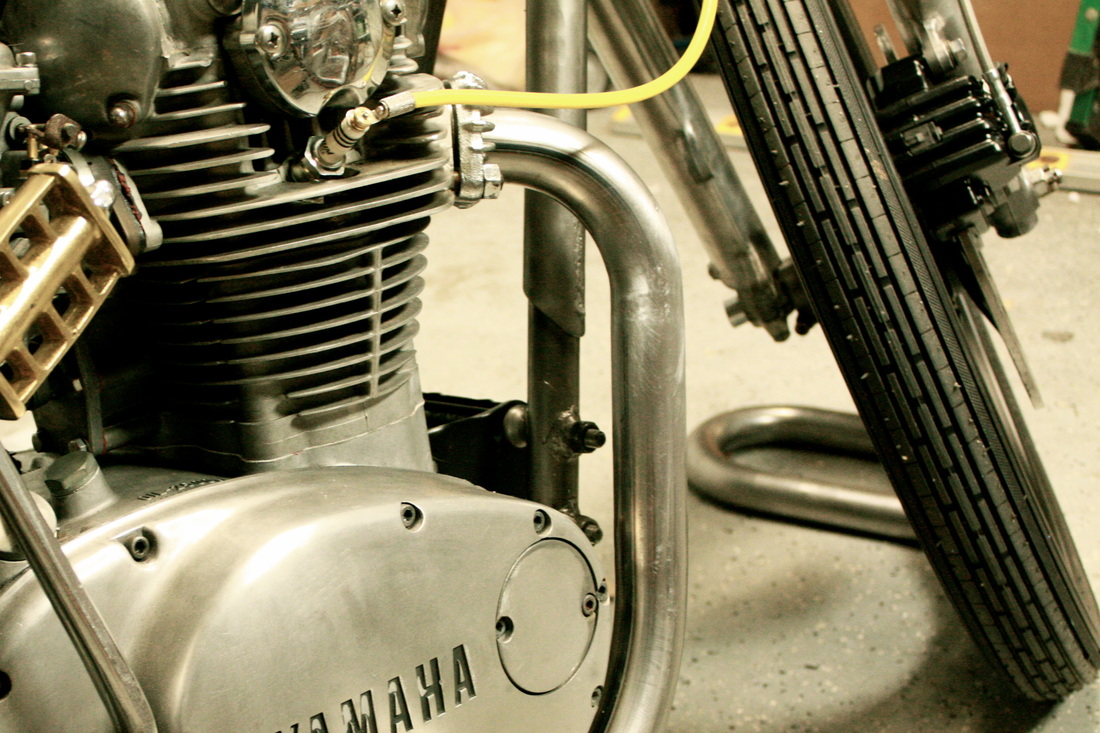 So I realized that straight pipes are ridiculously loud so I decided to build some internal baffles while still maintaining the straight pipe design. I did some research and found some that you could buy but they were more for keeping the back pressure up but did not reduce the decibel level all that much. With more research I found some forums where guys are building their own baffles and glass packing them. This creates the adequate back pressure while having the fiberglass to absorb the noise muffling it a few decibels. I may decide to do some tests of the decibels with and without the baffles to see what the exact difference is. 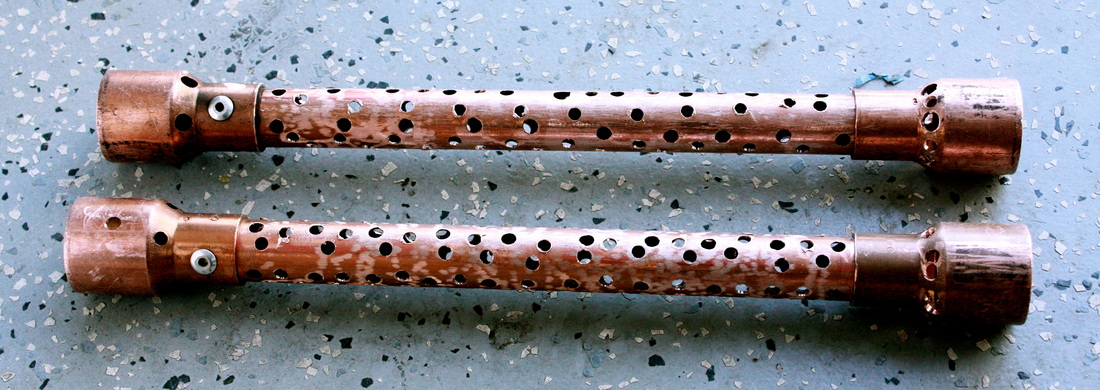 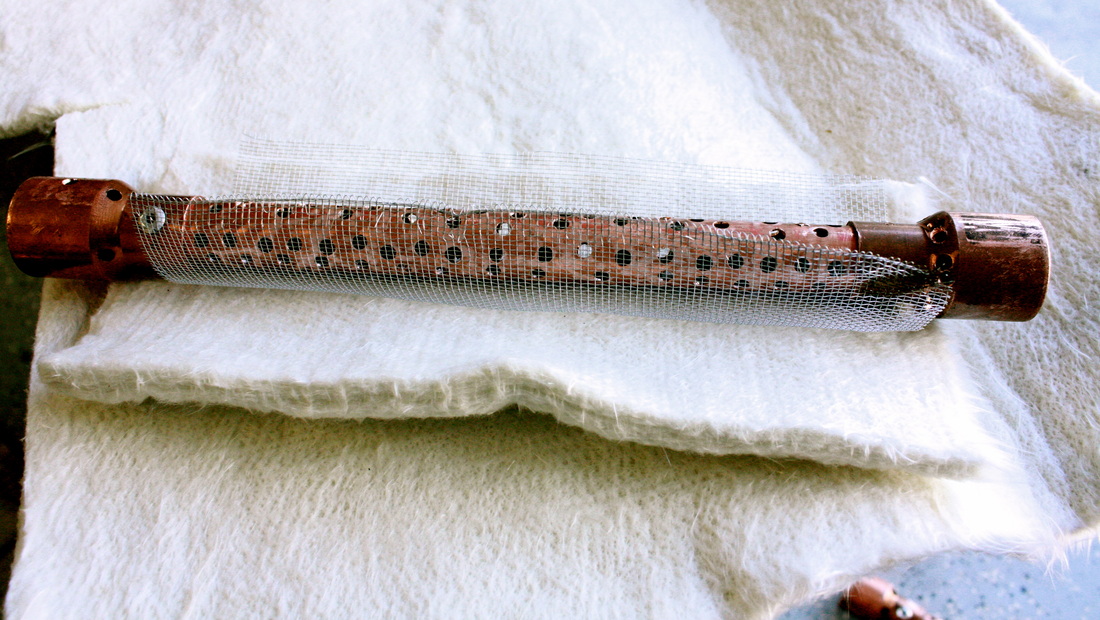 I installed the brass ends and then needed straps to mount the pipes to my bike. All the straps I found online were between $9-$30 and they were chrome, which this bike will have virtually none. I decided to go to my local hardware store and buy some flat stock brass and make my own. And then before installing them I shot them with 1000 degree rated paint. Of course they will be wrapped but this will protect them from rust and allow the ends that are not rusted to have a black on brass look. 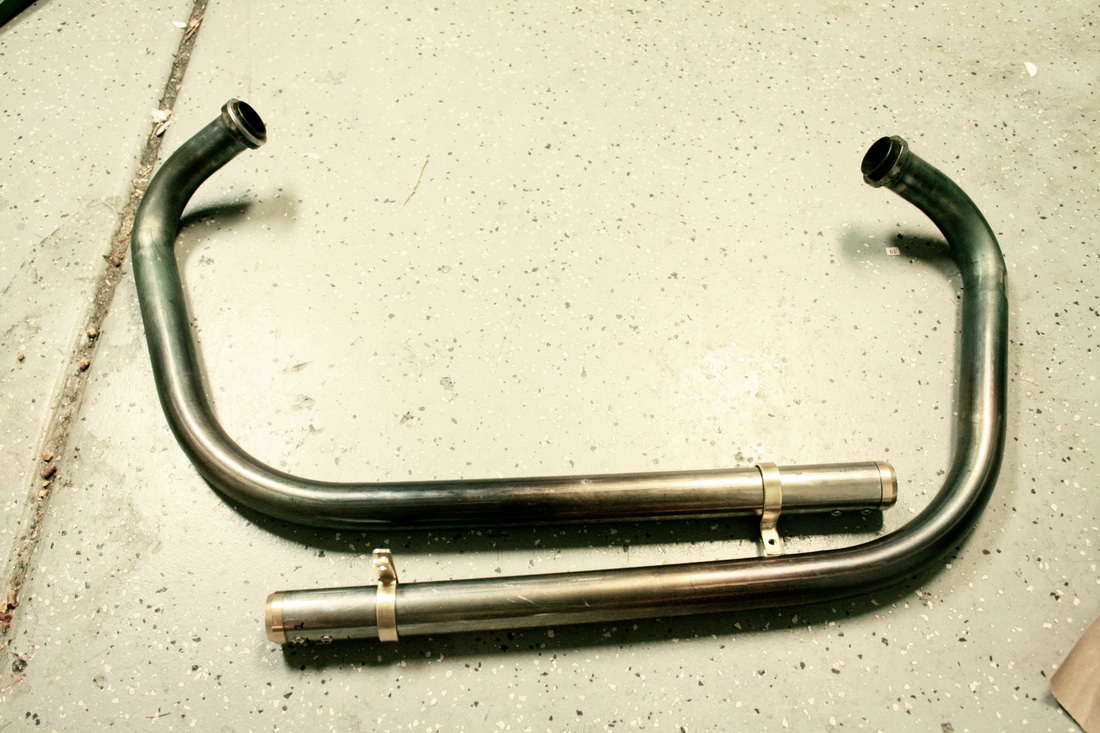 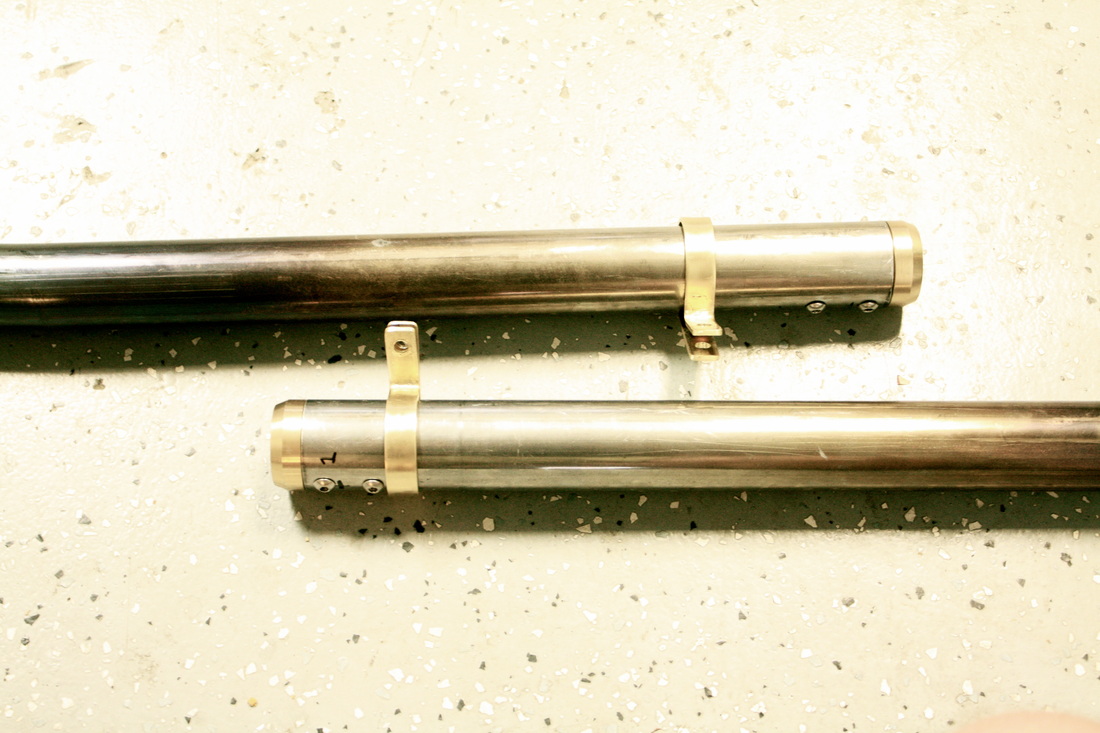 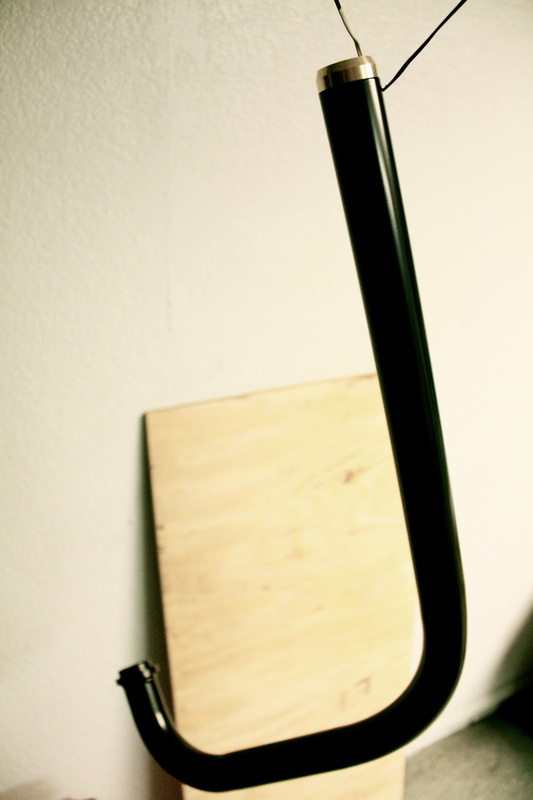 Got rims and hubs powder coated and rebuilt. 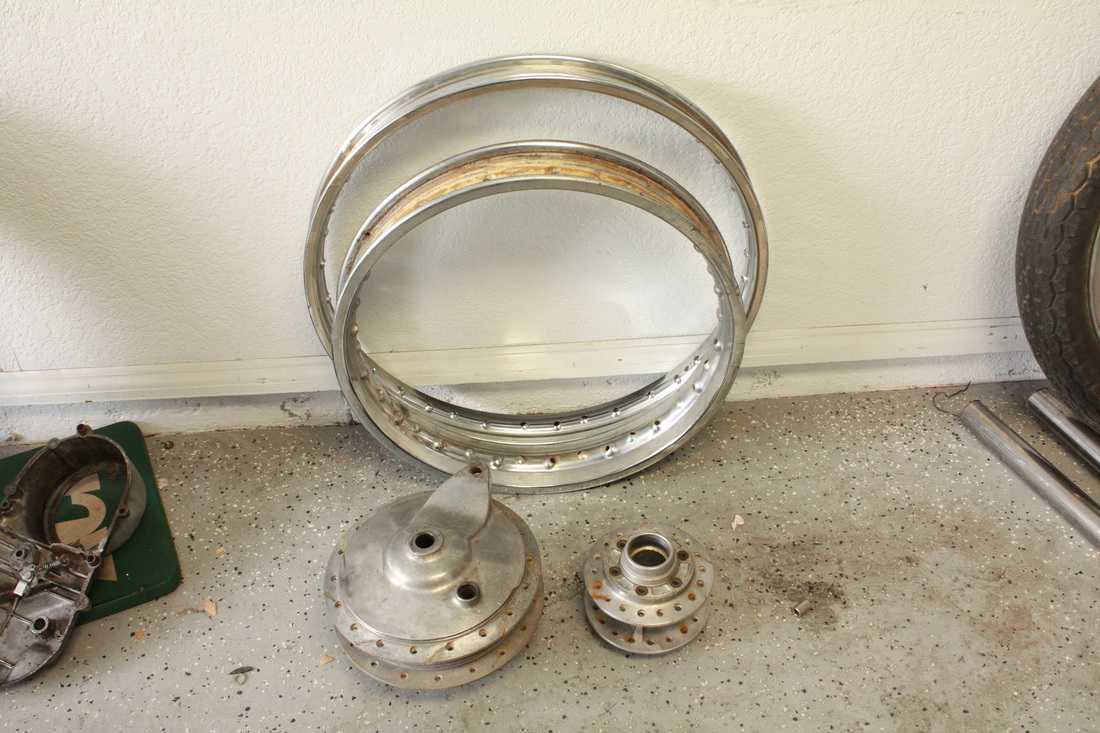
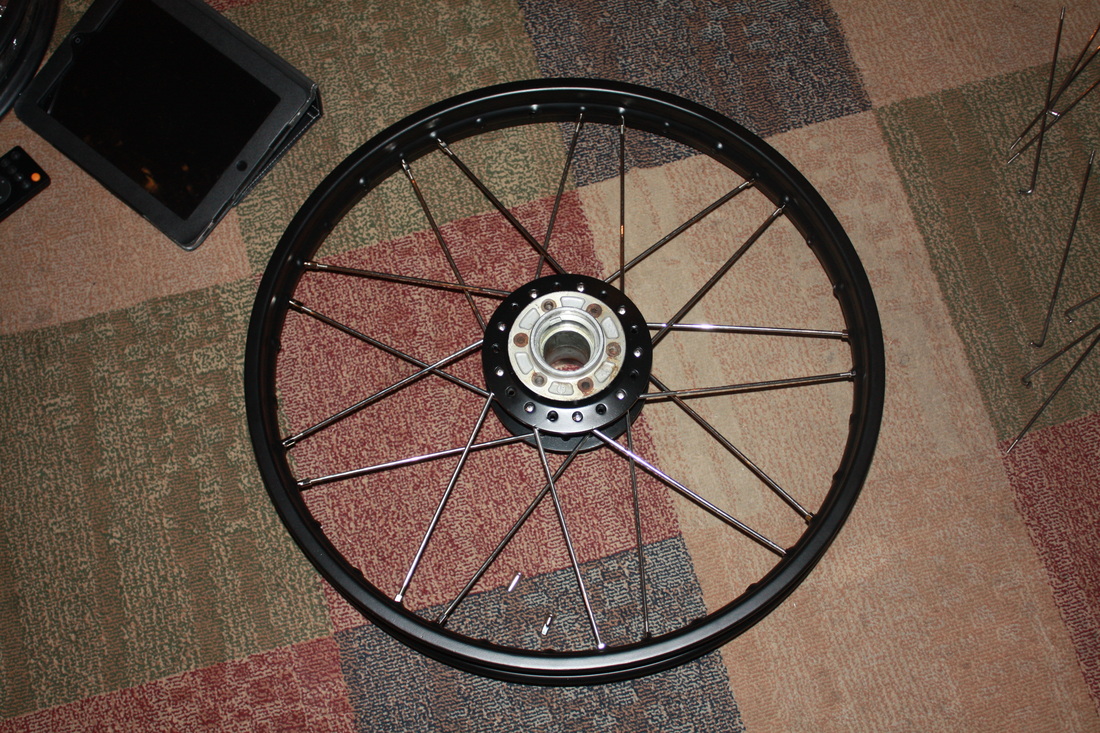
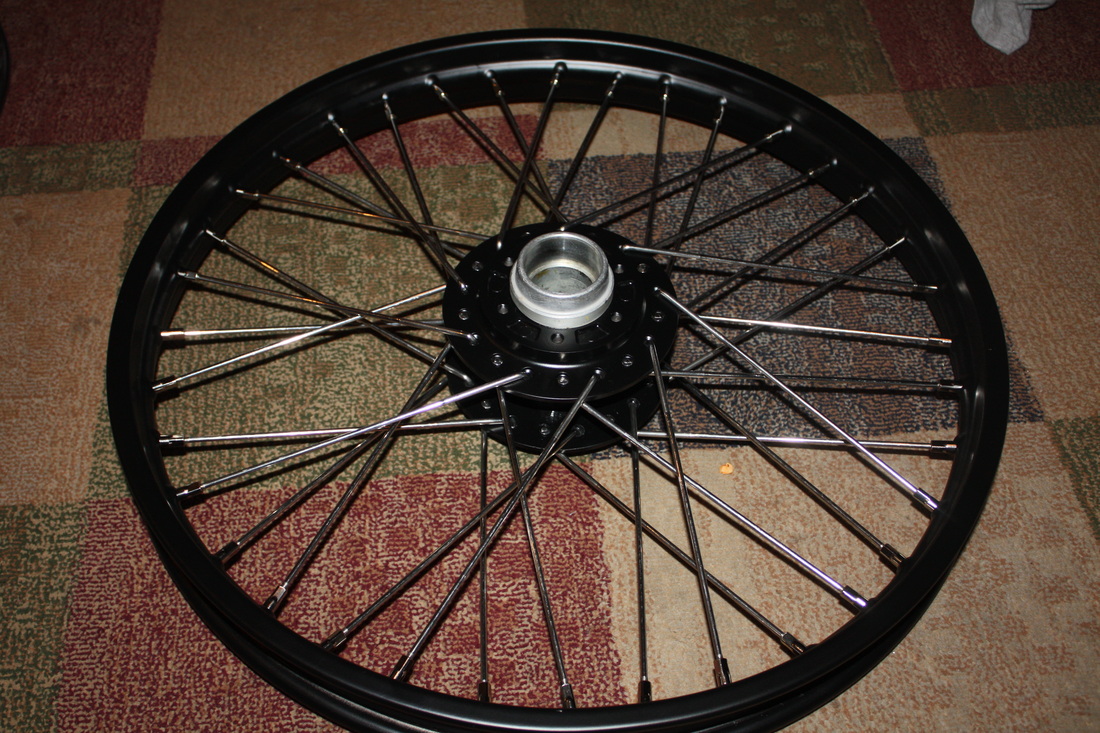
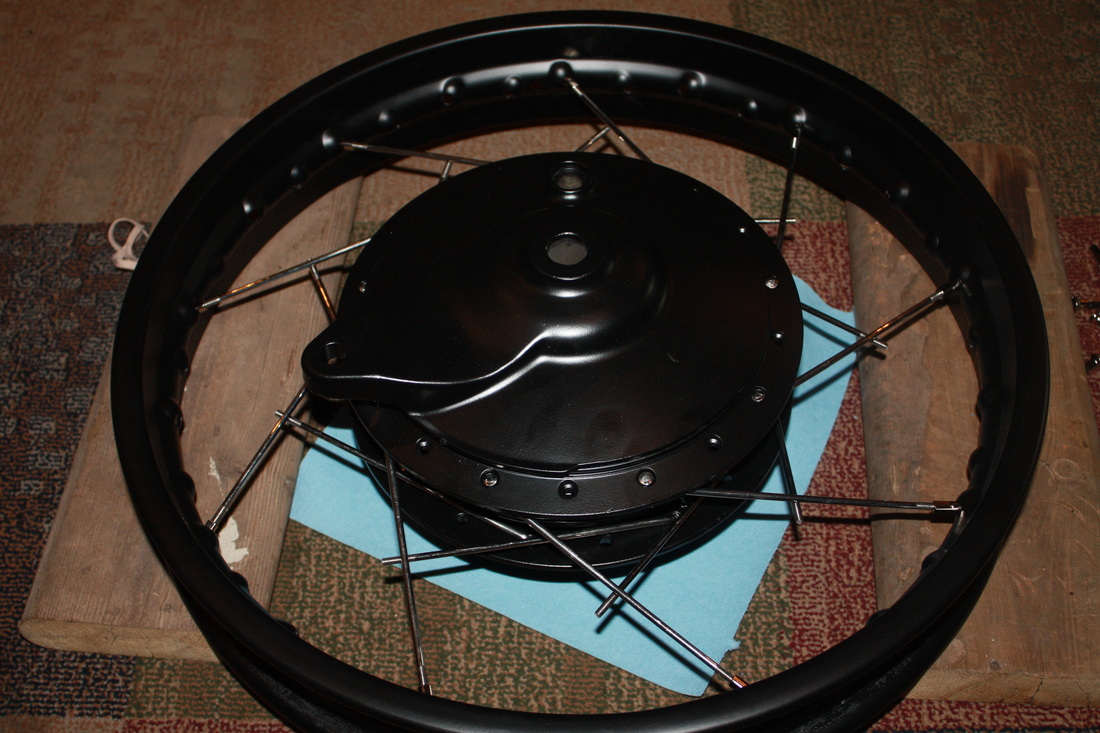
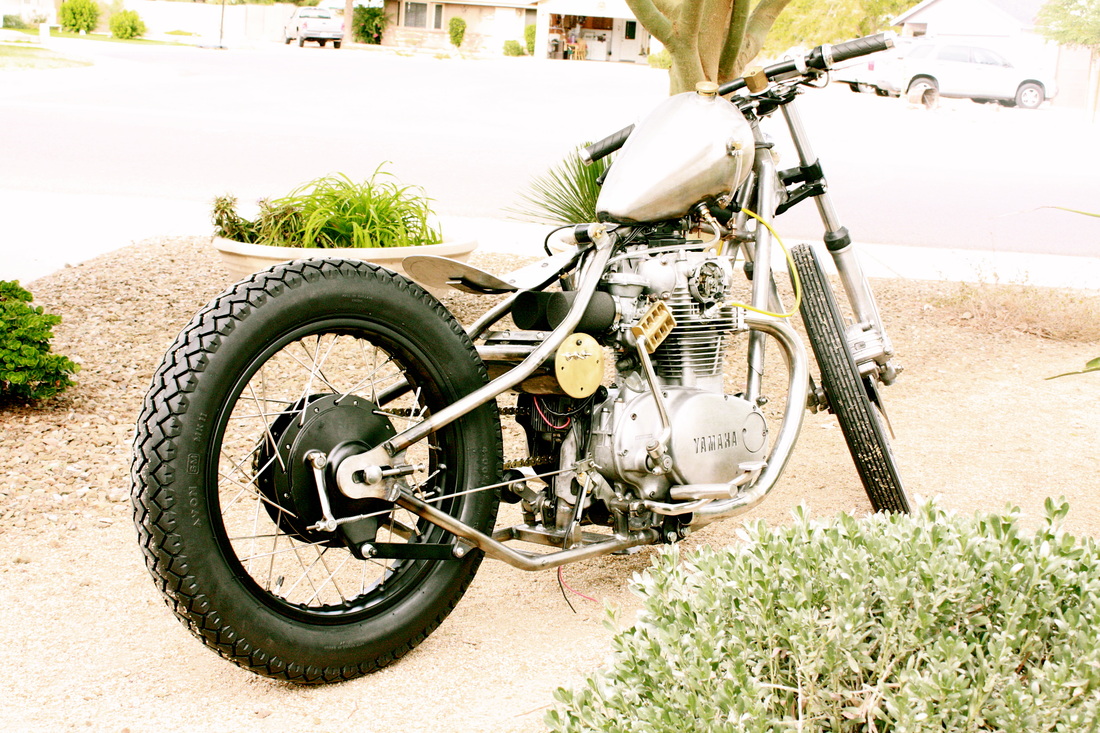
So the big wheel project is to have my rims and hubs powder coated satin black and new stainless steel spokes. Also, I wanted to upgrade from a 19" to a 21" front rim. This meant finding a Yamaha dirt bike rim and relacing it to my front hub. The rim I found, the holes for the spokes were too small so I had to drill out each one slightly larger to accommodate the nipples. I ordered Avon wheels from American Classic Motors out of Pennsylvania who has proven to be the cheapest place to by tires from, and a great staff to work with. I got the MKII Speedmaster for the front and the MKII Safety Mileage for the rear. 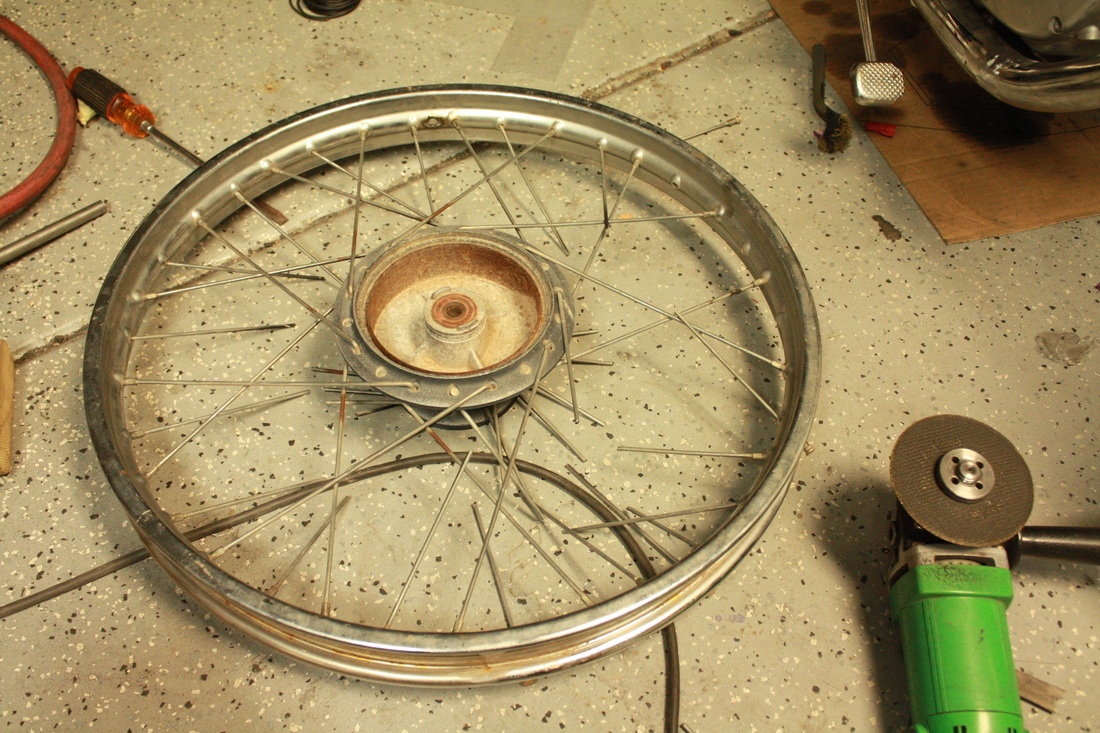 Here is the new 21" wheel w/cutoff wheel cutting away the spokes. 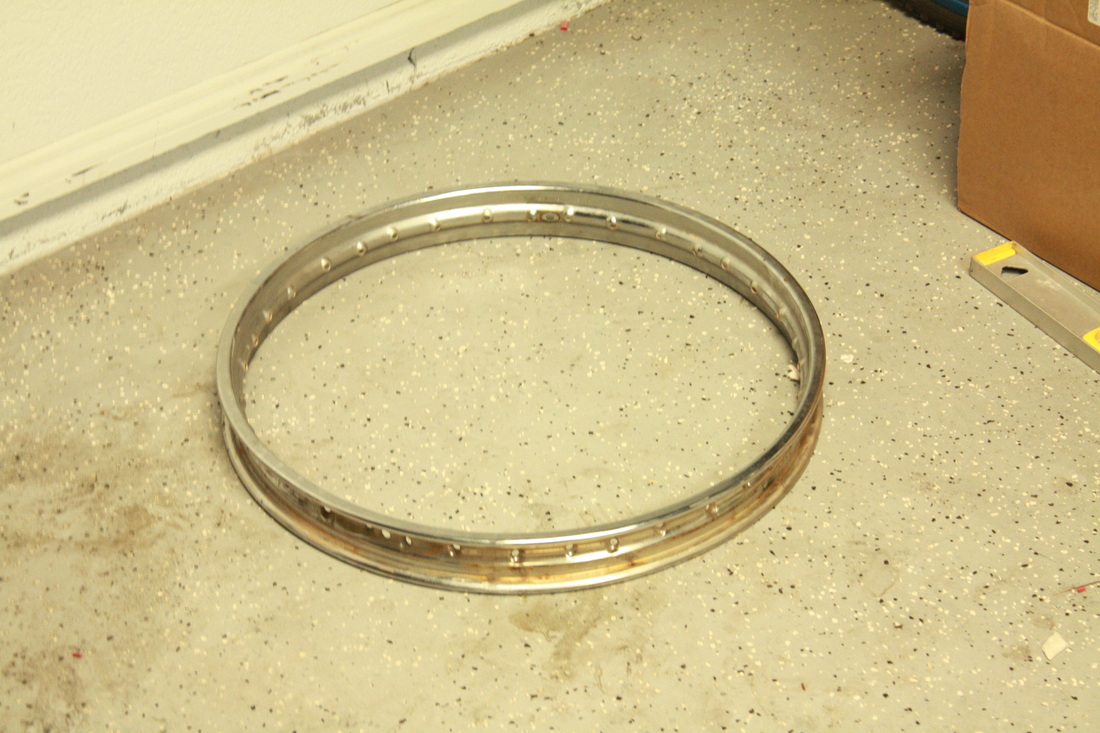 21" rim without spokes and hub. 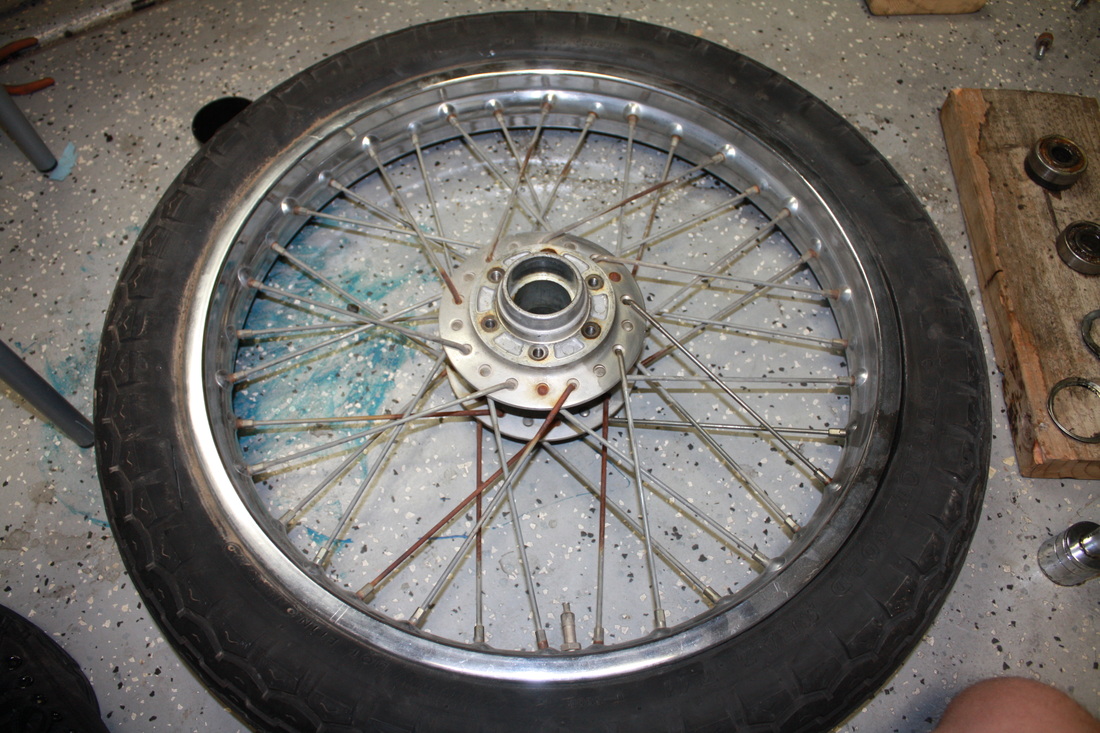 Original 19" front wheel and rim. Hub will be laced to 21" rim. 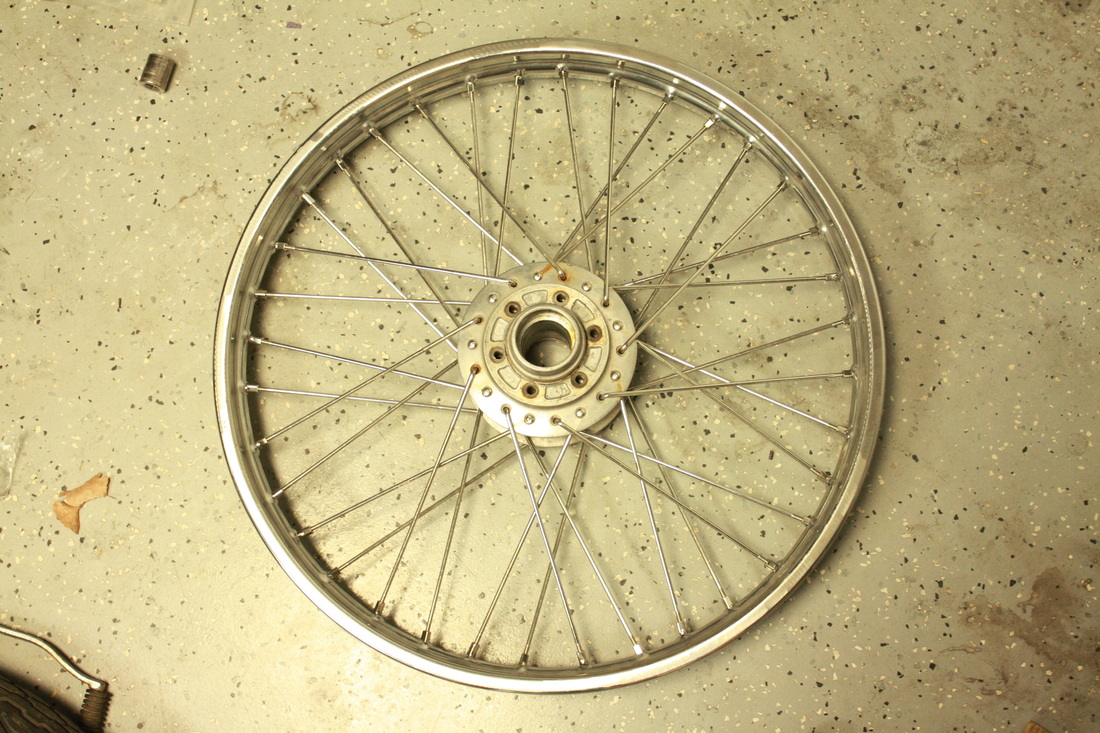 Here is the hub laced to the new rim for a test fit. Now to send the rim and hub for powder coat and then to true the rim. 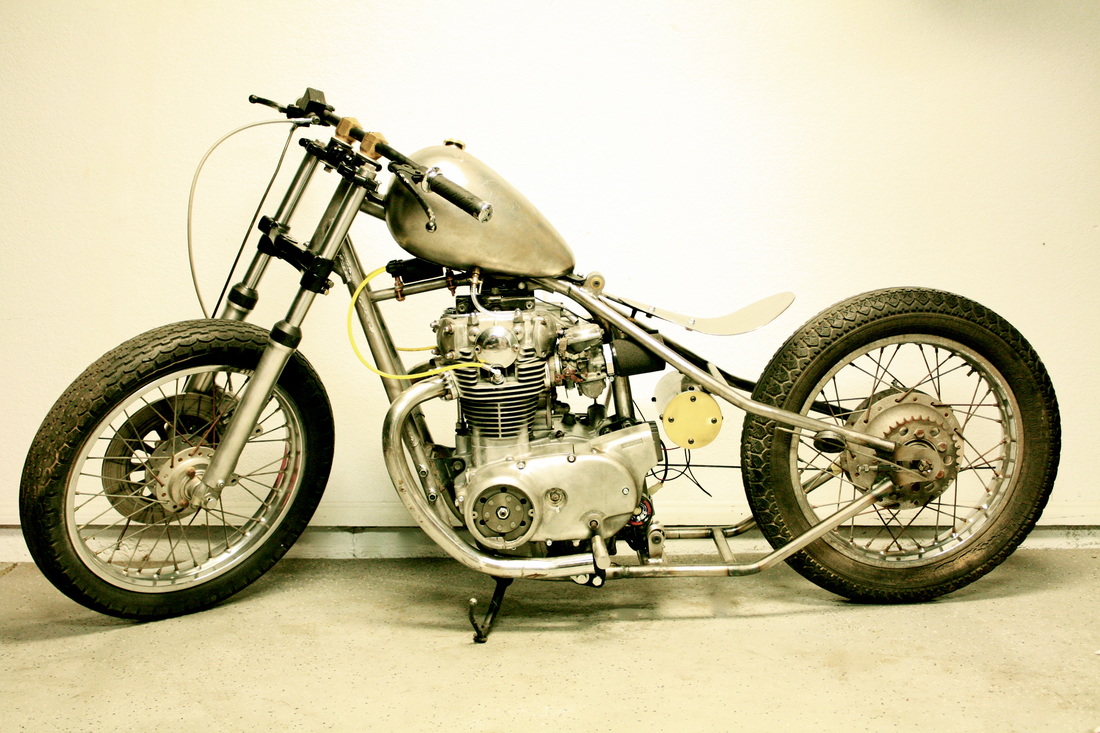 New seat & seat height adjuster, electronics faux 'oil tank', mid-controls, wiring, carbs & air cleaners, permanent magnet alternator installed, side case on, triple trees painted fork tube boots, (not pictured - rear brake pedal). 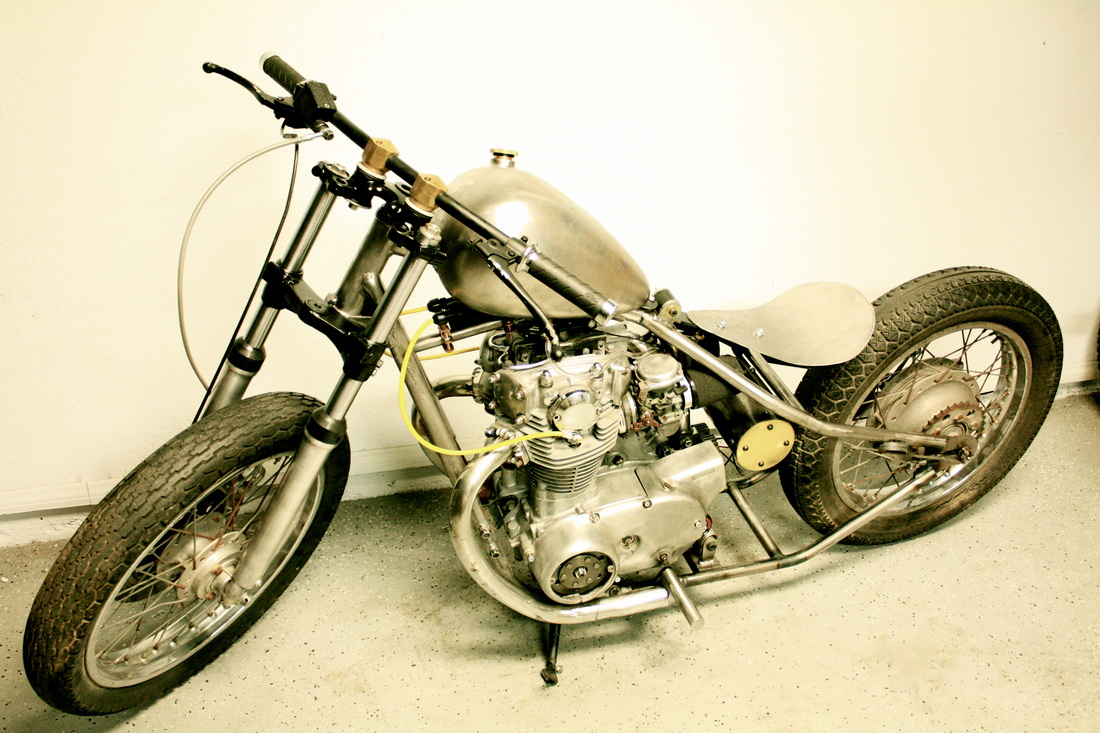 |
YAMAHA
|
 RSS Feed
