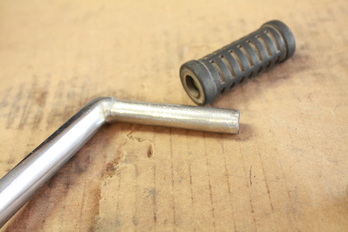
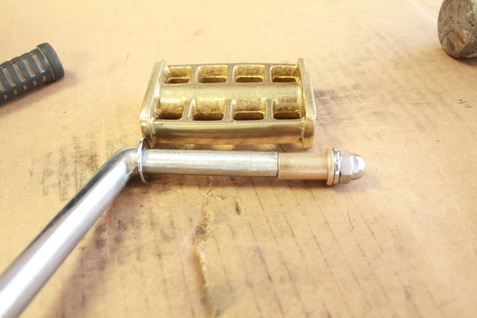
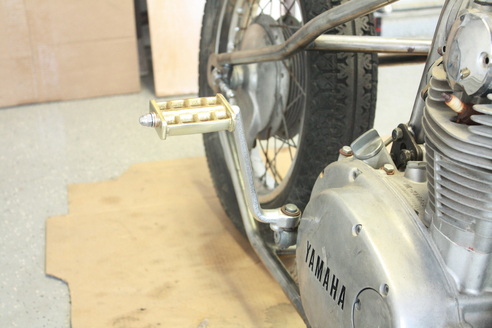
The trick was getting this nice brass pedal to fit to the existing kick starter.
|
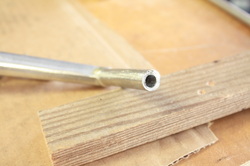
Of course a major theme on this build is brass. I wanted to go with a brass kicker however I have not found any that are made for the Yamaha XS650. So I decided to get one for a Harley and modify it for this bike. The trick was getting this nice brass pedal to fit to the existing kick starter.  I started off by cutting off the little nub and slid off the existing rubber foot rest. Then had to grind down the bar to be round. It was not the most round bar.  I then drilled a hole in the end of the bar and tapped some threads to match a bolt. Then I cut of the bolt head and threaded in the bolt which will get a tack weld so it is permanently in the lever.  I then got a couple chrome washers and a bronze bushing. Then to make sure there was no movement I got a piece of stainless steel tubing that would fit in the bronze bushing and be a sleeve over the threaded bolt.  Then the final installation.
4 Comments
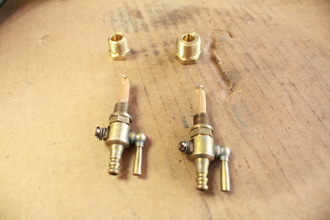 I ordered a couple petcocks for my gas tank. Each carburetor will have its own dedicated fuel petcock. I was able to find two beautiful brass petcocks. They are vintage fuel petcocks off either a BSA or Triumph, probably from the 50's-70's era. My tank came with two different size bungs, a 3/8" and a smaller 1/4" bung which I wished it came with none and I could have installed my own. 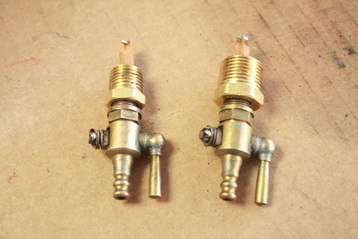 So to solve the problem I went to my local Ace Hardware and picked up a couple hex bushings the reduced both the 3/8" NPT and 1/4" NPT bungs to the 1/8" NPT threads on the petcocks. The picture shows the bushings on the petcocks ready for installation on the tank. 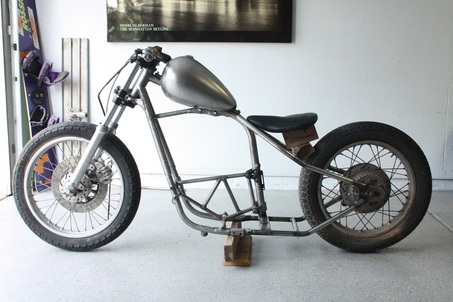 So I decided not to build my own hardtail for several reasons and have one ordered custom to the exact measurements I was wanting. I ordered my tail from Robert at Elswick Cycle. I was quoted 3-4 weeks on the build time and received it 4 weeks and 1 day, not bad. I am more than happy with it and think it turned out perfect. The weird shape piping that is in place of the engine is an engine stay that I welded up to keep the frame from flexing when I weld the hardtail on so that the engine will fit perfect. 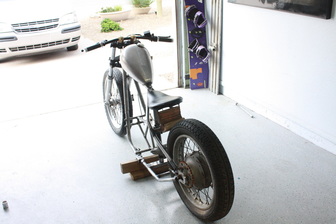 The specs on the hardtail are:
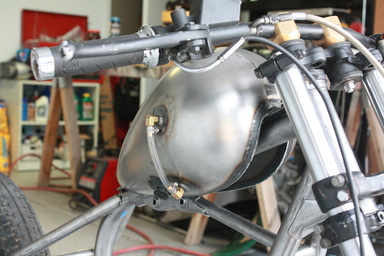 After the Visual Fuel gauge was installed. I apologize for not getting pictures of the progress and only showing the finished product. Since my bike will have the old school look that means no speedometer**, gas gauge or anything. Basically everything will be stripped except the wiring to run it, start it, and keep it legal; i.e. headlight and break light. We can argue safety later. I rode a GREEN crotch rocket that was never seen. This bike will be heard far before it is seen. Anyways I digress, a really cool feature is to have a 'visial' gas gauge. The steps was to order a couple NPT threaded bungs that I got from Bung King. Then some brass angles and clear tubing from the local hardware store. The total cost was at $16, much cheaper than a $36 kit. 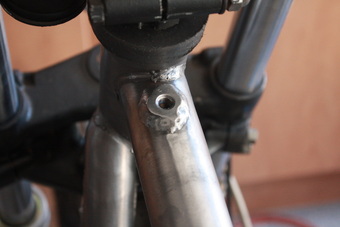 The next goal was getting the tank mounted. Many guys out there just drill & tap the backbone tube. There were a couple reasons I would not go that route.
I felt the only option was the option my dad believed in as he would say, "Nothing should be done half a$$ or mickey mouse!" To over come the strength issues of losing integrity I got some blind bungs, meaning the bungs did not have a whole all the way through. I chose these because that way water could not enter the bung through the threads and get inside the frame. Here are the bungs I used, I used metric threads to match the metric bike. To overcome the sencond concern, I went down to the local hardware store and found some perfect grommets ans some stainless button hex bolts as seen in the pictures. **Actually I will use an Android phone or iPhone as my speedometer with an app, I will create old school brass holder for the phone and wire in a charging unit so that I can have a waterproof USB charging port on the bike, but it will be hidden. Not having a speedo is legal, safe, and fine. I can gauge my speed based on other vehicles.
|
YAMAHA
|