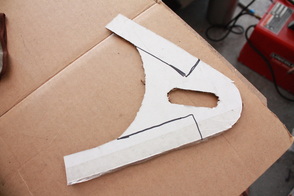
- Free scrap metal from neighbor
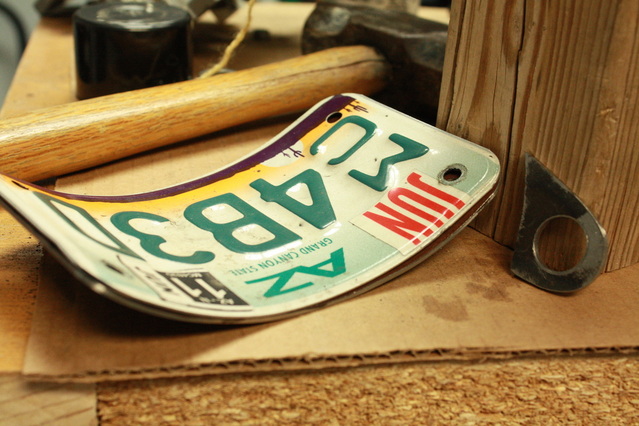
- Plasma cut the parts
- Bend with hammer and a little love
- drill out holes...
- And the almost finished product. Just have to wait for final mockup to get placement finalized.
|
So this was one of those projects that is buy something you can build or build something you can buy. I chose the latter of the too... it is much more fun that way. Lowbrow Customs sold one for about $60. My price to make it --> FREE!
2 Comments
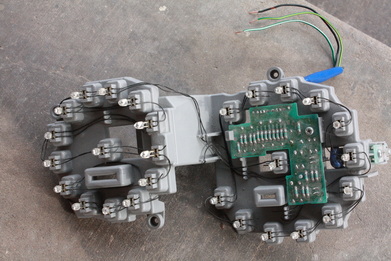
So my neighbor who works for an autobody shop in Scottsdale, AZ hooked me up with the guts from a Lexus LED brake light to fab my own brake lights. These have running and brake light set up in the electronics. This will be a fun project soon!
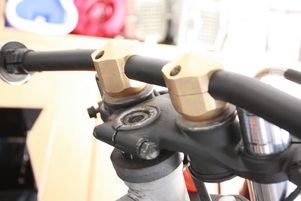
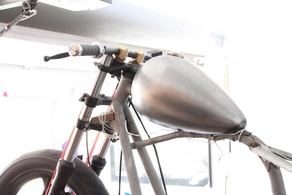
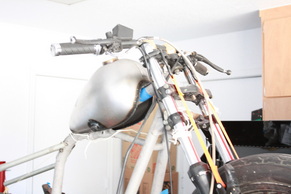
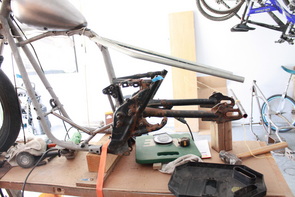
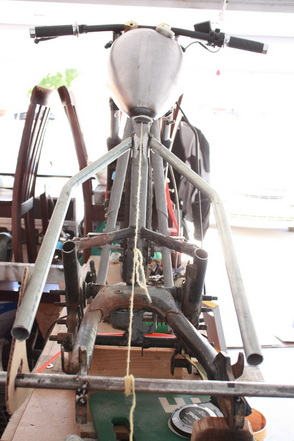
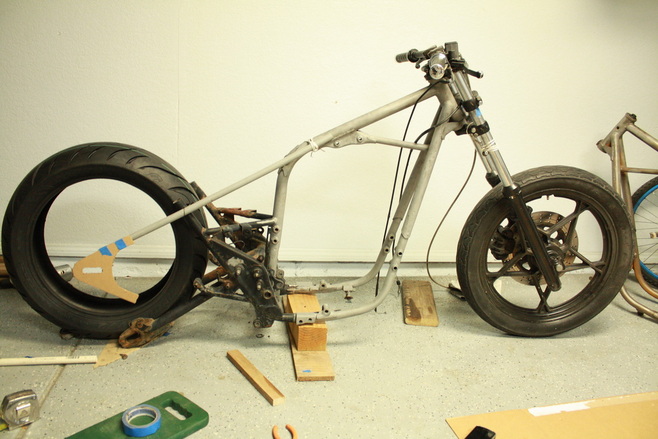
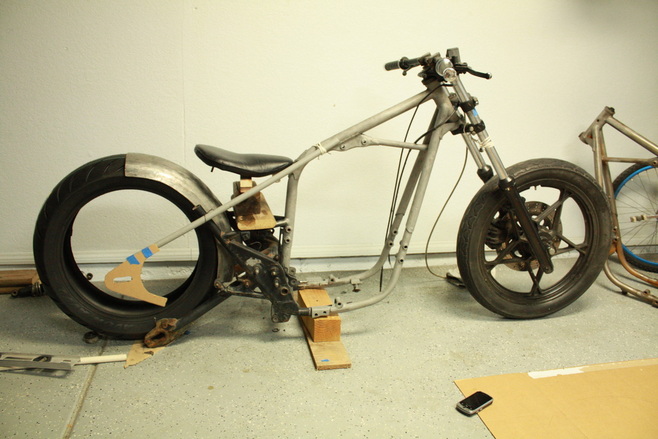
So the 4" inch solid brass risers were obnoxious being so tall, however they go for about $250 new, maybe I could rebuild them to remove the 3" riser perches to be the right height so that I could keep the brass look. I love the old school brass, remember, there ain't no school like the old school. So here are the risers as stock height, beautiful. I may polish them, we will see. Finally my Single Cap Alien Gas Tank arrived from Cycle X. I got it cheaper tahn anyone else had it while everyone else had it on backorder. I think the tank is perfect. It is an alien peanut tank from the 60's and 70's. I will get a brass cap for it as well. So now the bad news. After I tried to put on the new front wheel I bought I realized it in no way fit, the width was off, the axle was wrong, etc, etc. I called up my buddy who I bought the bike from, he told me he believed it was all stock. After closer inspection i Saw Suzuki's little 'S' on all the bolts on the rotor and rim. Also, after a little more research I realized the whole front end except the triple trees were from the wrong bike, a Suzuki GS450. I also realized they were longer which meant a lot of the mockup welding that I had done was wrong as well. As you will see in the pics I had to put ratchet tie downs on the front end to compress the forks to get the right angles. So I began working on the mock up for the rear hard tail. I decided to use 1" electrical conduit piping to get the practice on for bending, cutting, and tack welding to mock up how I want the final frame and bends to be. The pipe is great to work with because it is MUCH cheaper and forgiving. Plus once I am happy with it, they will serve as guides for running my actual pipe for the frame. As you can see on the picture below there is a lot of room between the seat pipes and the rear axle. I had a problem with shocks not being stock height. After I adjusted the front forks down it raised the rear end about 2.5". Again this is why I used conduit for mocking it up. So needless to say all this needs to be readjusted. I will hold off until I score a pair of stock shocks. The tough trick is getting the axle placement exactly where I want it. Once that is located then I welded the swingarm in place so that it won't move. This will allow me to put my axle plates (cardboard cut outs currently) on. See below. Once I have the axle plates in place then I can get the piping measurements exact and cut and tack weld them on. Hopefully I will be getting some 3/8" plate steel this week then plasma cut the axle plates and clean 'em up to put on here. I learned when I was a kid to measure twice and cut once. I am learning as an adult to measure 27 times and cut 3 times, grind some, grind some more and then you are close.
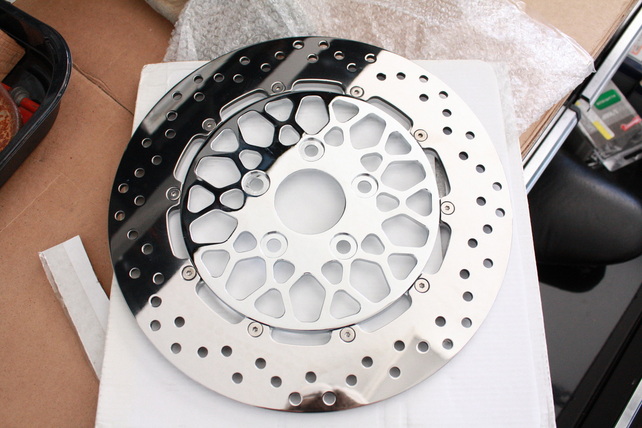
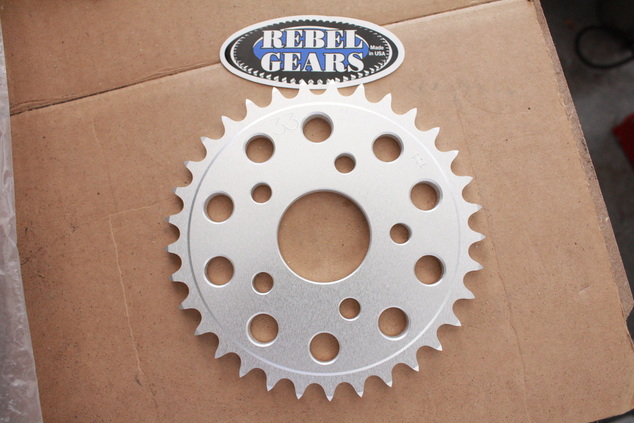
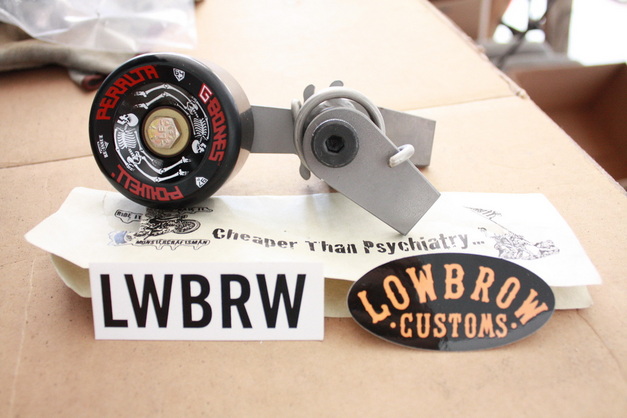
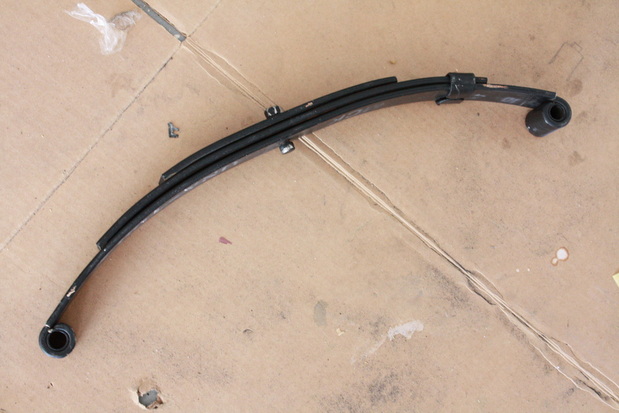
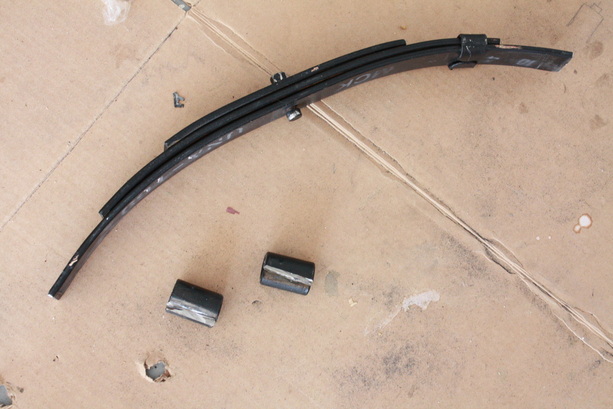
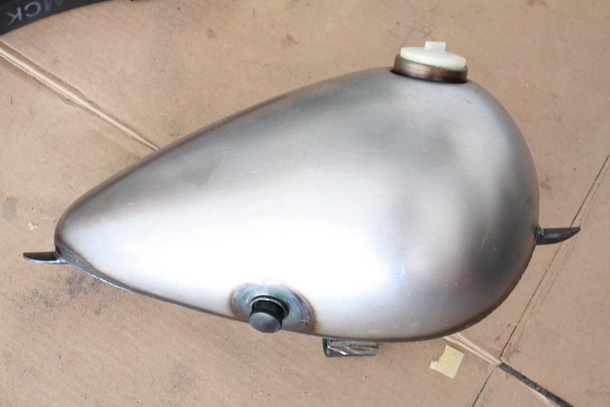
Alright, so this week I received a bunch of parts and here they are. Got in my rear Harley Davidson disc to go with my HD wheel that should be here later this next week. I ordered this rotor along with my rear tire and wheel on eBay from American Classic Motors. That have some of the best prices online!!! I had to order a custom rear sprocket that would have the low number of teeth for the gearing on the Japanese bike but bolt pattern and 2" spacer for the Harley Davidson wheel. Rebel Gears is great, they got me a custom 33 teeth sprocket instead of 34T that comes stock. They can make any custom sprocket and were very fast. Typically when you convert a soft tail bike to a hard tail there is issues with the chain slack. After the chain stretches it can slap the bottom rail or your tire. To remedy this guys have been installing chain tensioners that can be spring loaded to comepnsate over time for the chain stretch. How cool was it to go old school to my younger years and roll with a Powell Peralta skateboard wheel as a tensioner! I picked this up at Lowbrow Customs, check 'em out. Good guys and good gear! I also got in my tractor leaf spring that will be converted to a seat spring to make the seat float in the air, fingers crossed. This particular spring is a 1000lb. spring so I should be fine. Actually I will remove the smaller third leaf which will accomodate anyone from 100lb to about 300lb. The lower picture shows the eyes cut off. I am hoping I can halve the spring and sale the second as a full leaf spring kit. I may have to cut past the half way mark making the leftover useless. Also I received one of the best looking parts on this bike, the sexy Single Cap Alien Gas Tank arrived from Cycle X. I got a sweet deal on it and it looks perfect on my scoot. Need to figure out the valve and petcock if any fab'ing is in order. Hopefully it will all work. Also thinking about an external gas gauge...
I will also be picking up a brass cap for it as well. I got my new wheel and tire in today. They unfortunately sent me a 16" rim instead of an 18" rim. So I am sending that back for an exchange. However I removed some of the rear end to make room for the new rear wheel. It is starting to take shape. I am messing around with some axle plate designs. I have settled on this style, it looks like a looped hardtail but is very simple. Last night I took my fender to my neighbors to plasma cut some of the sides off since it rolled all the way around the wheel. I just want a fender to cover the top of the tire and match it's profile. After I got it back I had to do some pounding to shape it how i wanted it. Here is a picture with the fender and seat. Final plan is the fender will start at 12 o'clock and end between 3 and 4 o'clock. The seat will be about an inch or two back as well.
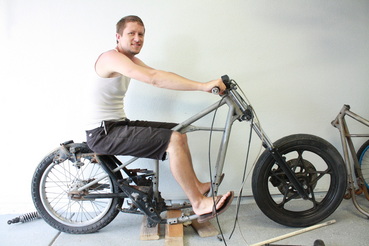
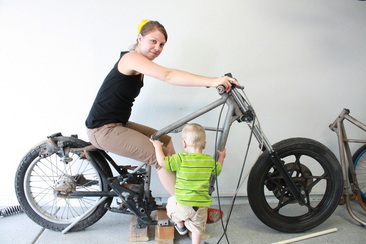
So I did a little mock up today. I put the frontend on the new frame and sat the new front wheel that I bought in the rearend just to see what it would look like. This is with a 1" stretch over stock. I also put in a gray PVC conduit pipe in place of the hardtail to see what it would look like. I also wanted to see what it would look like with me and Krisann on it to get an idea for the riding stance, this is lowering the bike a little over an inch to be a final ride height of about 4.25". It looks like I am sitting on the tire, I will be about that close in reality. I will be doing a fender about 1/2" off the tire and a floating leaf spring seat.
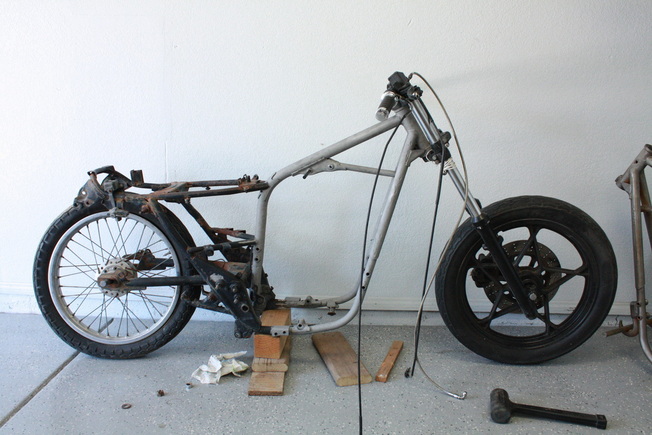
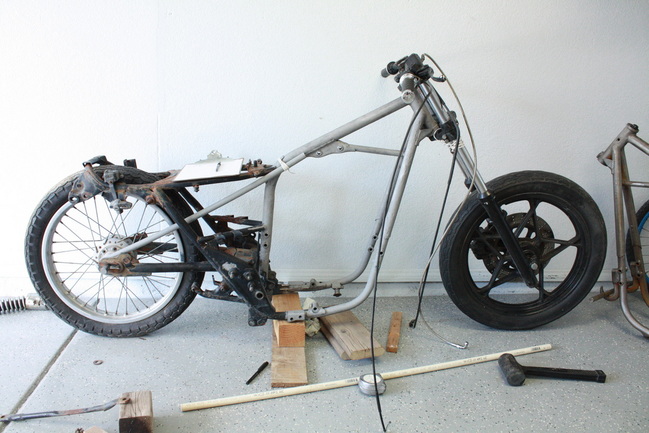
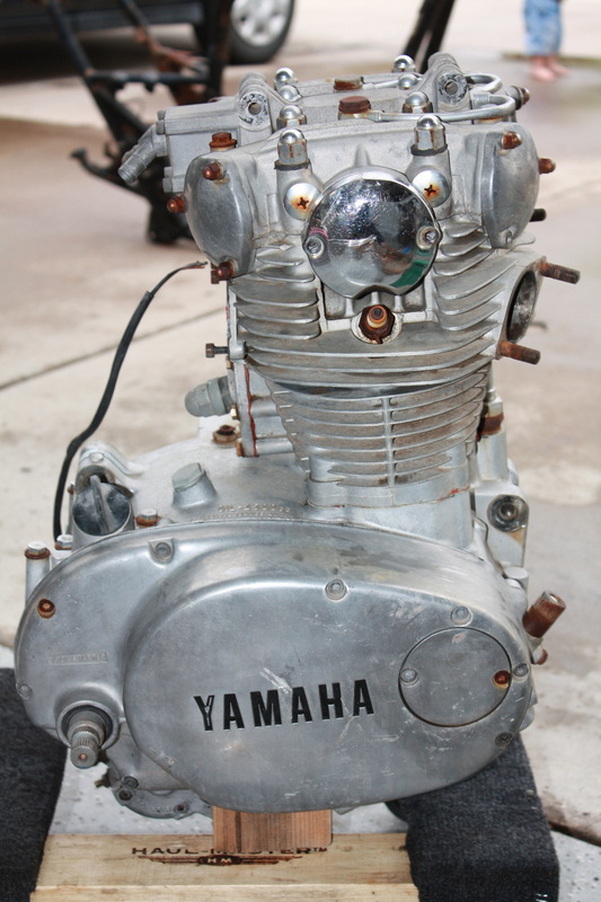
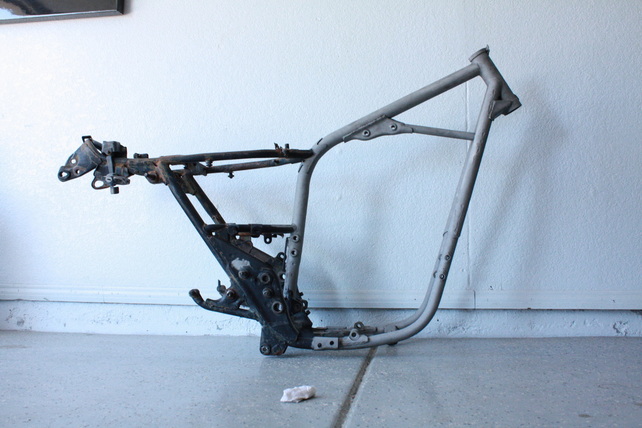
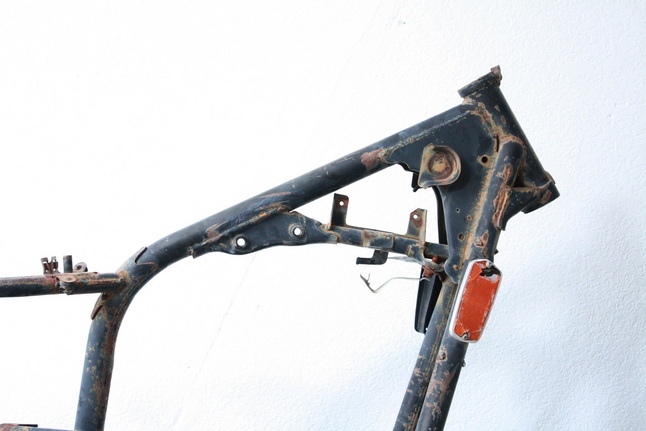
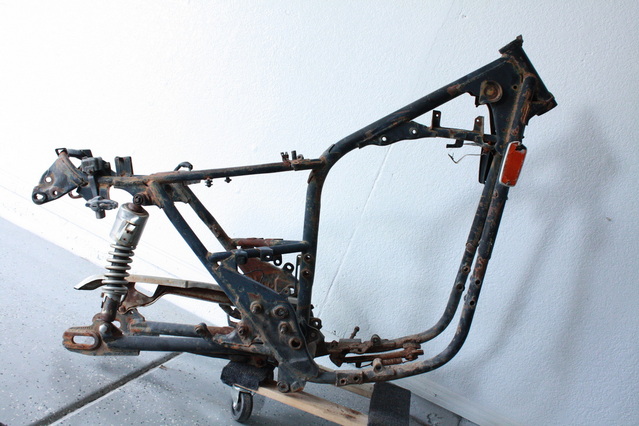
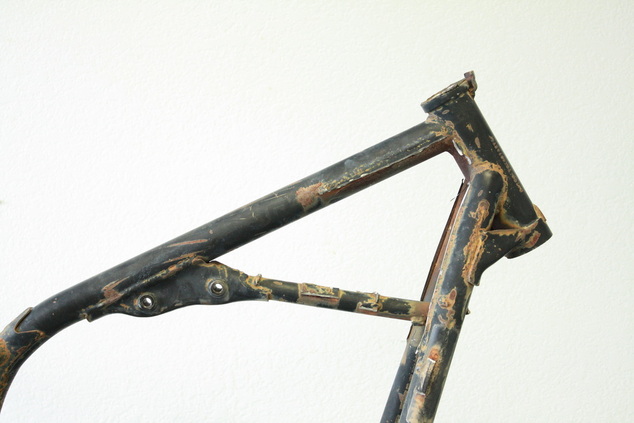
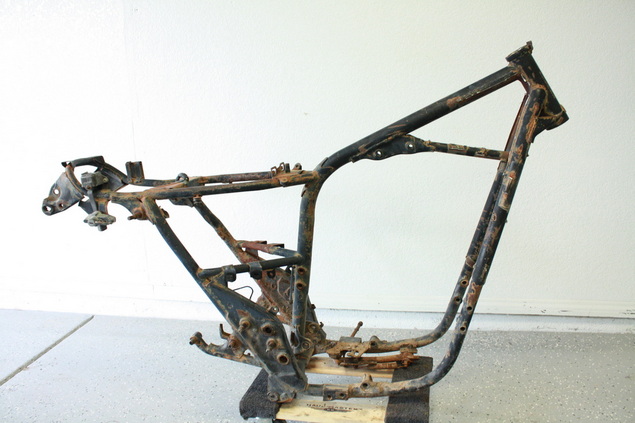
Waiting for my spring, rear tire, and wheel to ship. Using a leaf spring for a tractor trailer. Also using a Harley Davidson rear 18" x 5.5" wheel and Avon 200mm Cobra tire. 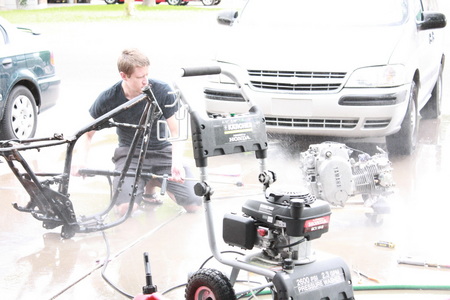 So I borrowed my neighbor's power washer because mine is not working and decided to power wash the engine. It cleaned up pretty good. I still may let it sit in a tub of diesel fuel to clean off the tar on the bottom. I will also buy a dress up kit to replace all the nuts and bolts and chrome after final mock up and after it is running. 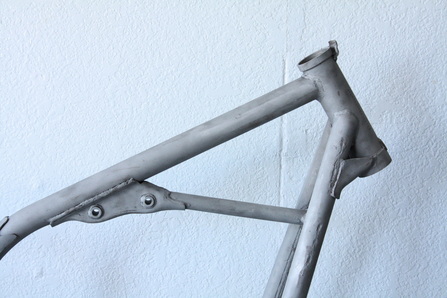 I also decided to sandblast the new frame to get it down to bare metal and to blend the smooth grind areas from removing all the gussets. Now you would not be able to tell where any grinds were ever made other than a slight temporary discoloration. The reason I did not sandblast the backend of the frame is because that is all going to be cut off and a hardtail will be welded in place. So I am a big fan of the Fong. Bros bikes. One thing they do often is remove the front support gussets and slean up the frame by removing any tabs and mounts that are no longer needed. Below is a before and after shot to see what I mean. Before: After:
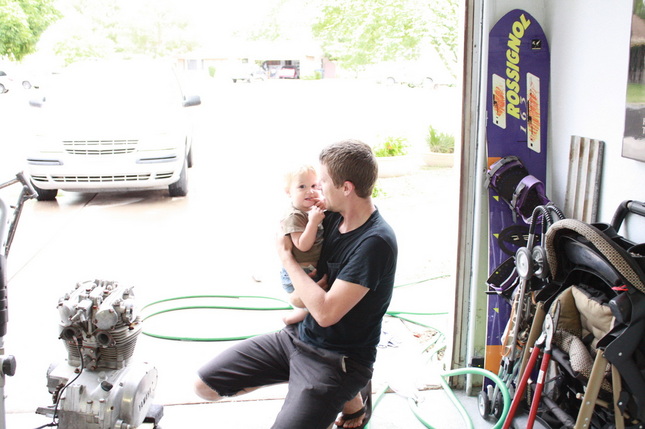
Here are a few pictures Krisann took.
|
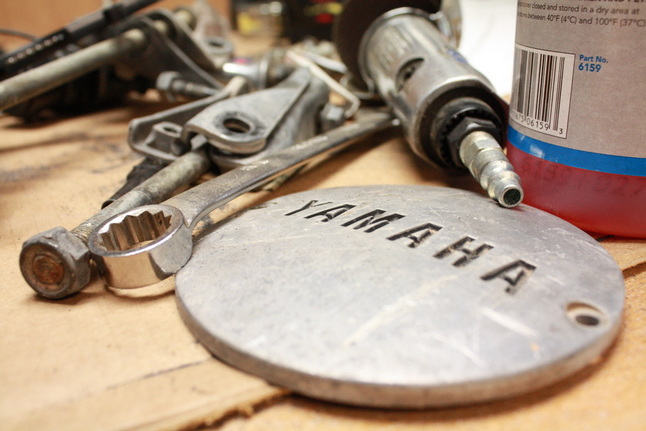
YAMAHA
|
 RSS Feed
