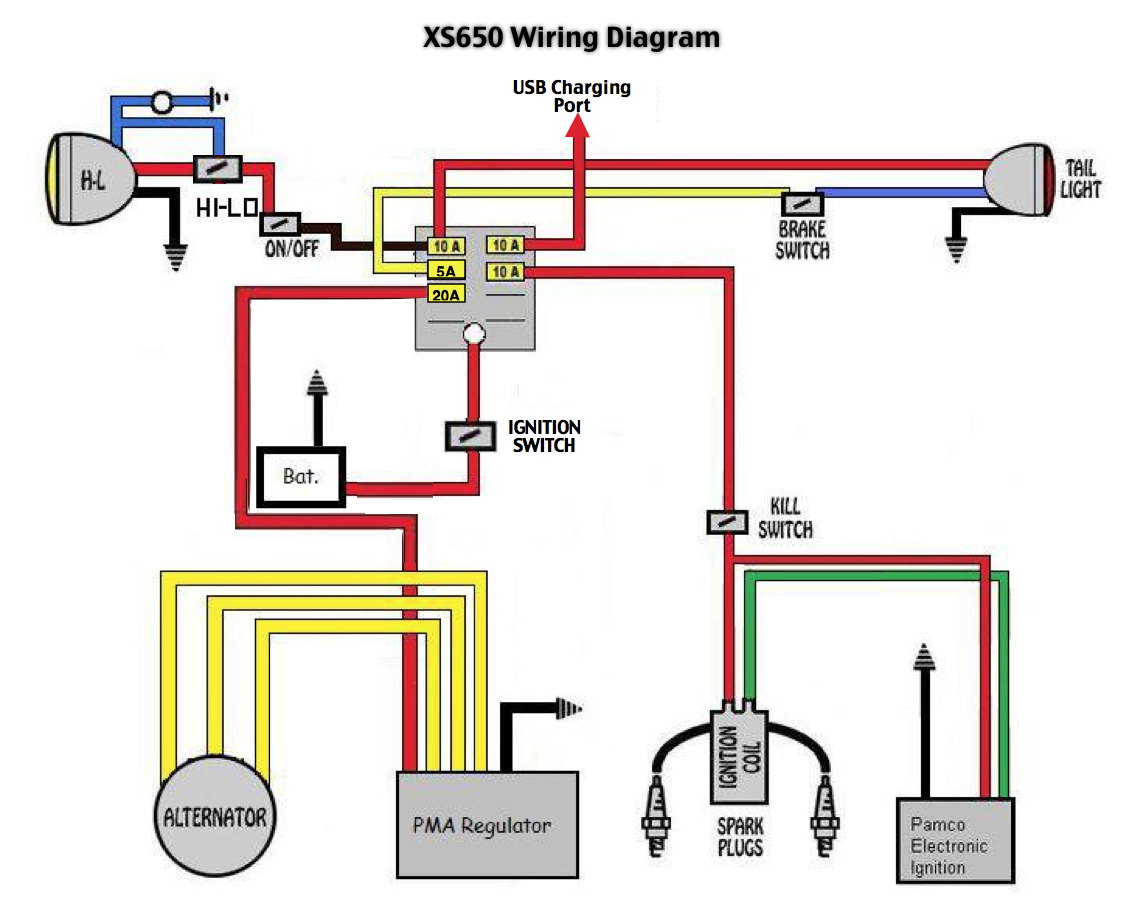
Here is the wiring diagram that gives me the simplest form of wiring. I adapted this one from others I have seen, there are a few slight modifications I will still make:
Also, here is a list of the electrical parts I used:
- USB Charging Port will go to a wiring block so that I can run a few items off of a relay like the USB plug, RFID reader/ignition, ans anything else I need.
Also, here is a list of the electrical parts I used:
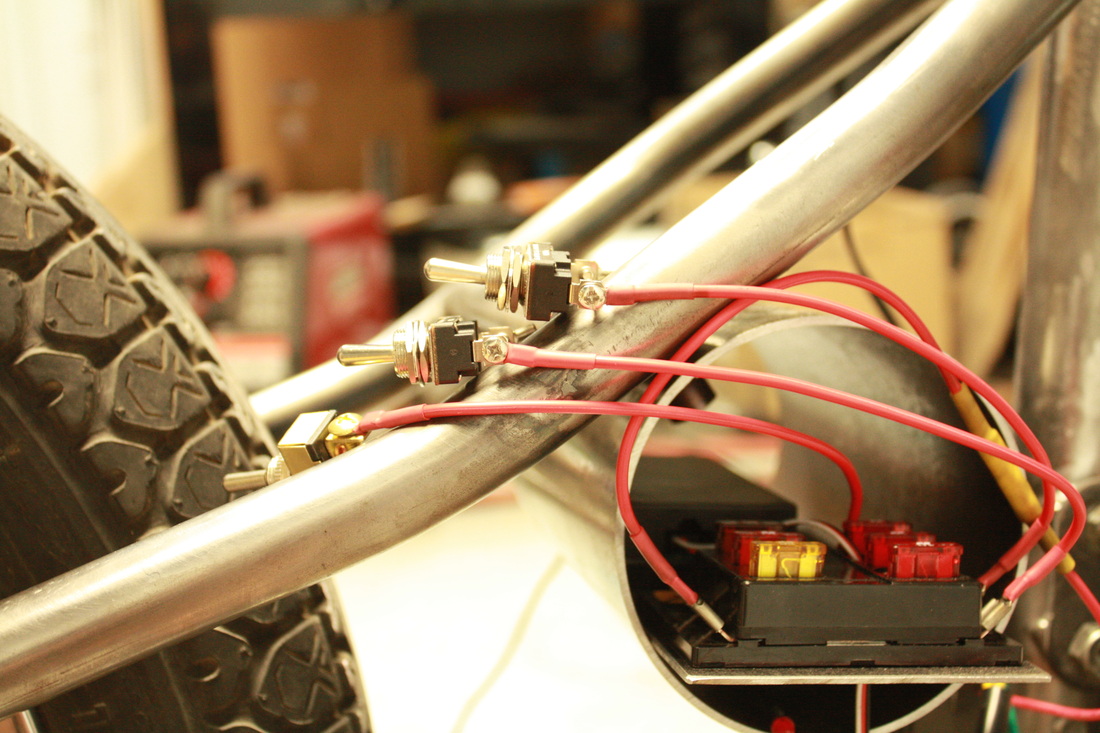
- 1 - 4-6 bay fuse block
- 1 - 20 amp fuse
- 3 - 10 amp fuse
- 1 - 7.5 amp fuse
- 1 - Ignition switch (I used standard Toggle Switch)
- 1 - Headlight switch, on-off
- 1 - High/low switch, on-off-on for hi-off-lo
- 1 - Brake switch
- 1 - Kill switch push button (I used standard Toggle Switch)
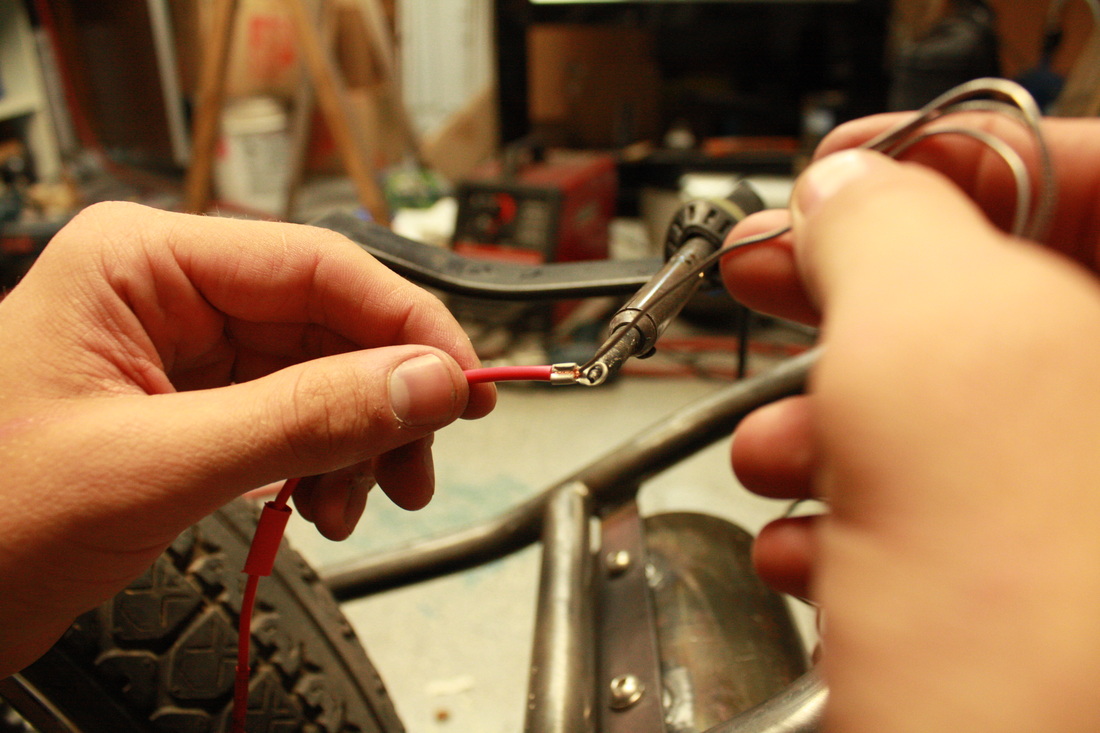
- 3' of green, black, & red wire 16 gauge
- Shrink wrap to match wire color (red & black)
- Assorted ring terminals


 RSS Feed
